
Usually I build my printed circuit boards by hand. Once the boards are fabricated, I apply solder paste using the patented “Jon Toothpick Method”, then place the components by hand using tweezers. This works fine, as I usually only build 1 or 2 boards. But recently some of the projects I’ve been building have either lots of SMD devices (a recent board had 30+ 0603 resistors), or the devices I’m using are tin, with very small pitch legs (I use SSOP & TSSOP packages, which are very small).
So, I decided to try getting a solder stencil made to use during my next build. I use OSH Park for my PCBs and they recommended OSH Stencils. The stencils were very affordable. They cost about $10 each, and they are about 6.5 sq in. I think they are laser cut Kapton film which according to online review, is pretty durable.
The process of applying solder paste using a solder stencil is pretty simple:
- Use a old PCB or a guide taped to a flat surface to stably locate the PCB
- Place a PCB in the guide and line up the stencil with the pads on the PCB
- Tape the stencil to the guide to locate it in place
- squeeze a small bead of solder paste across the film at one end and smear it across the film using an old credit card or squeegee.
- The film shouldn’t have any left over solder paste on it after you make the pass across the board. The squeegee should wipe it off as it passes. Paste should only be in the holes in the film.
- gently peel back the film off the board and the solder should be neatly applied to all your pads.
- place components and reflow the solder in an oven.
Here are some pictures of the process.

New PCB

PCB Stencil

Align stencil with PCB

Tape stencil in to position

Wipe solder paste across board
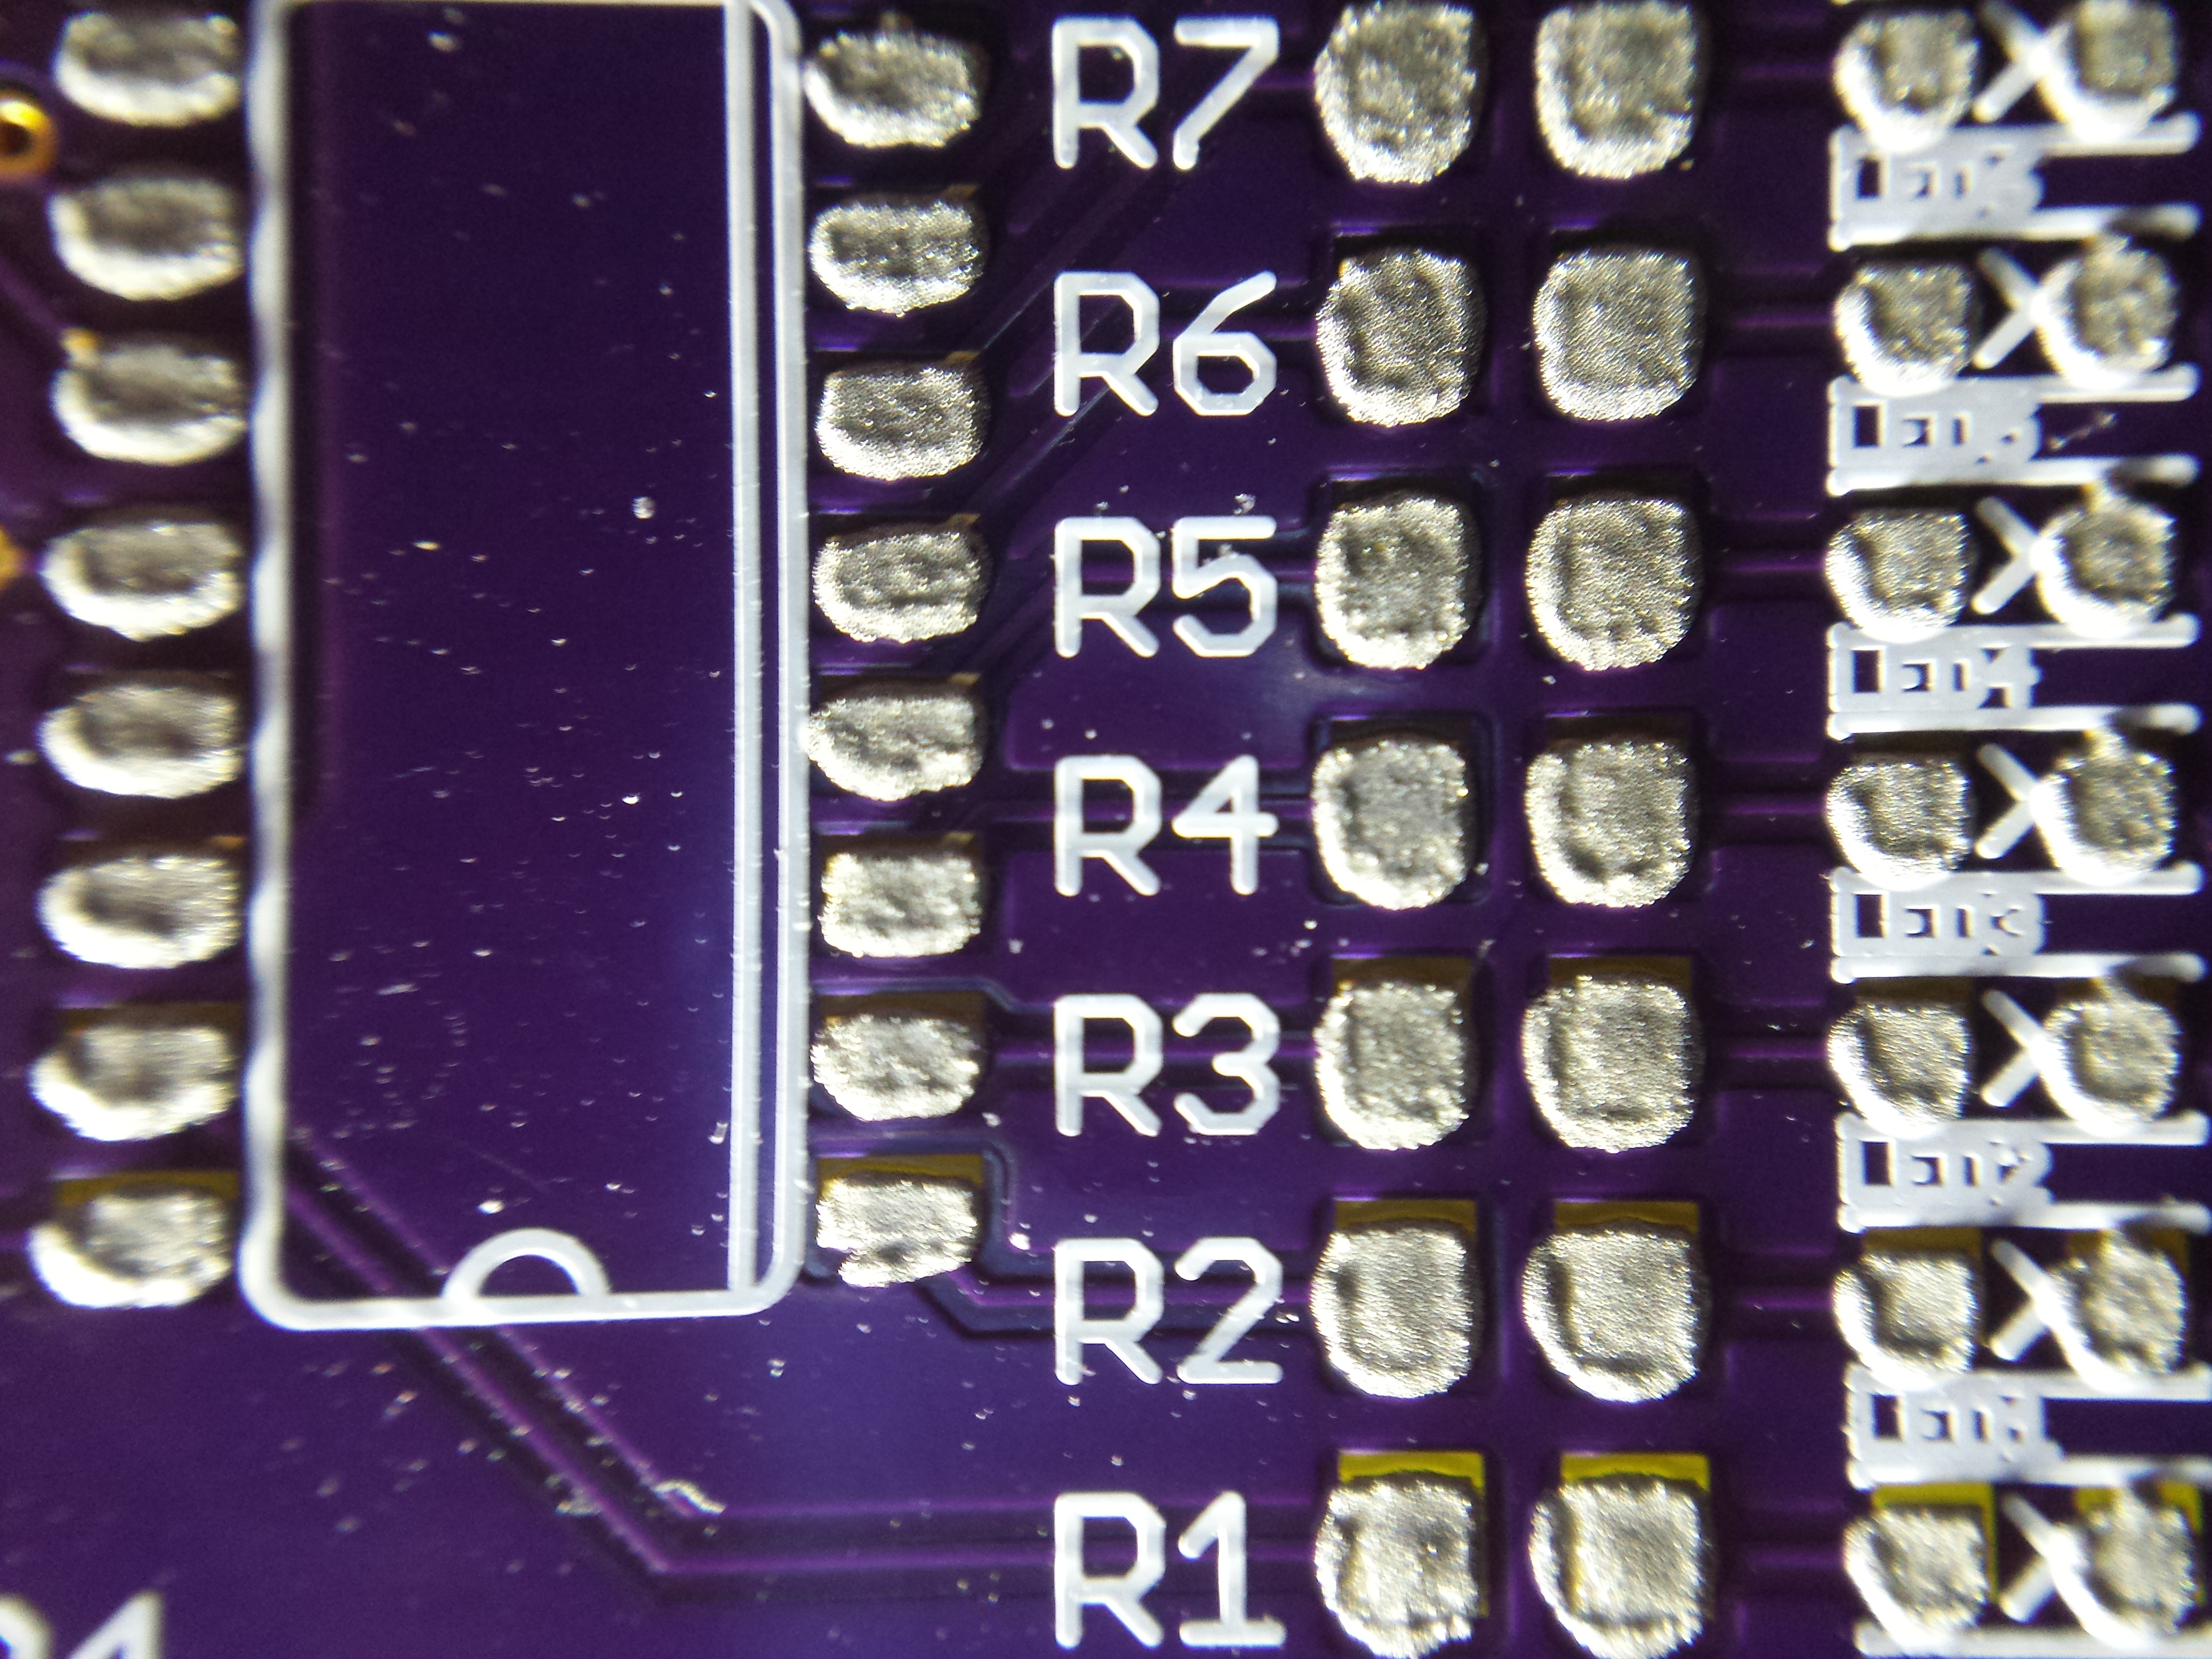
Solder paste applied on the pads
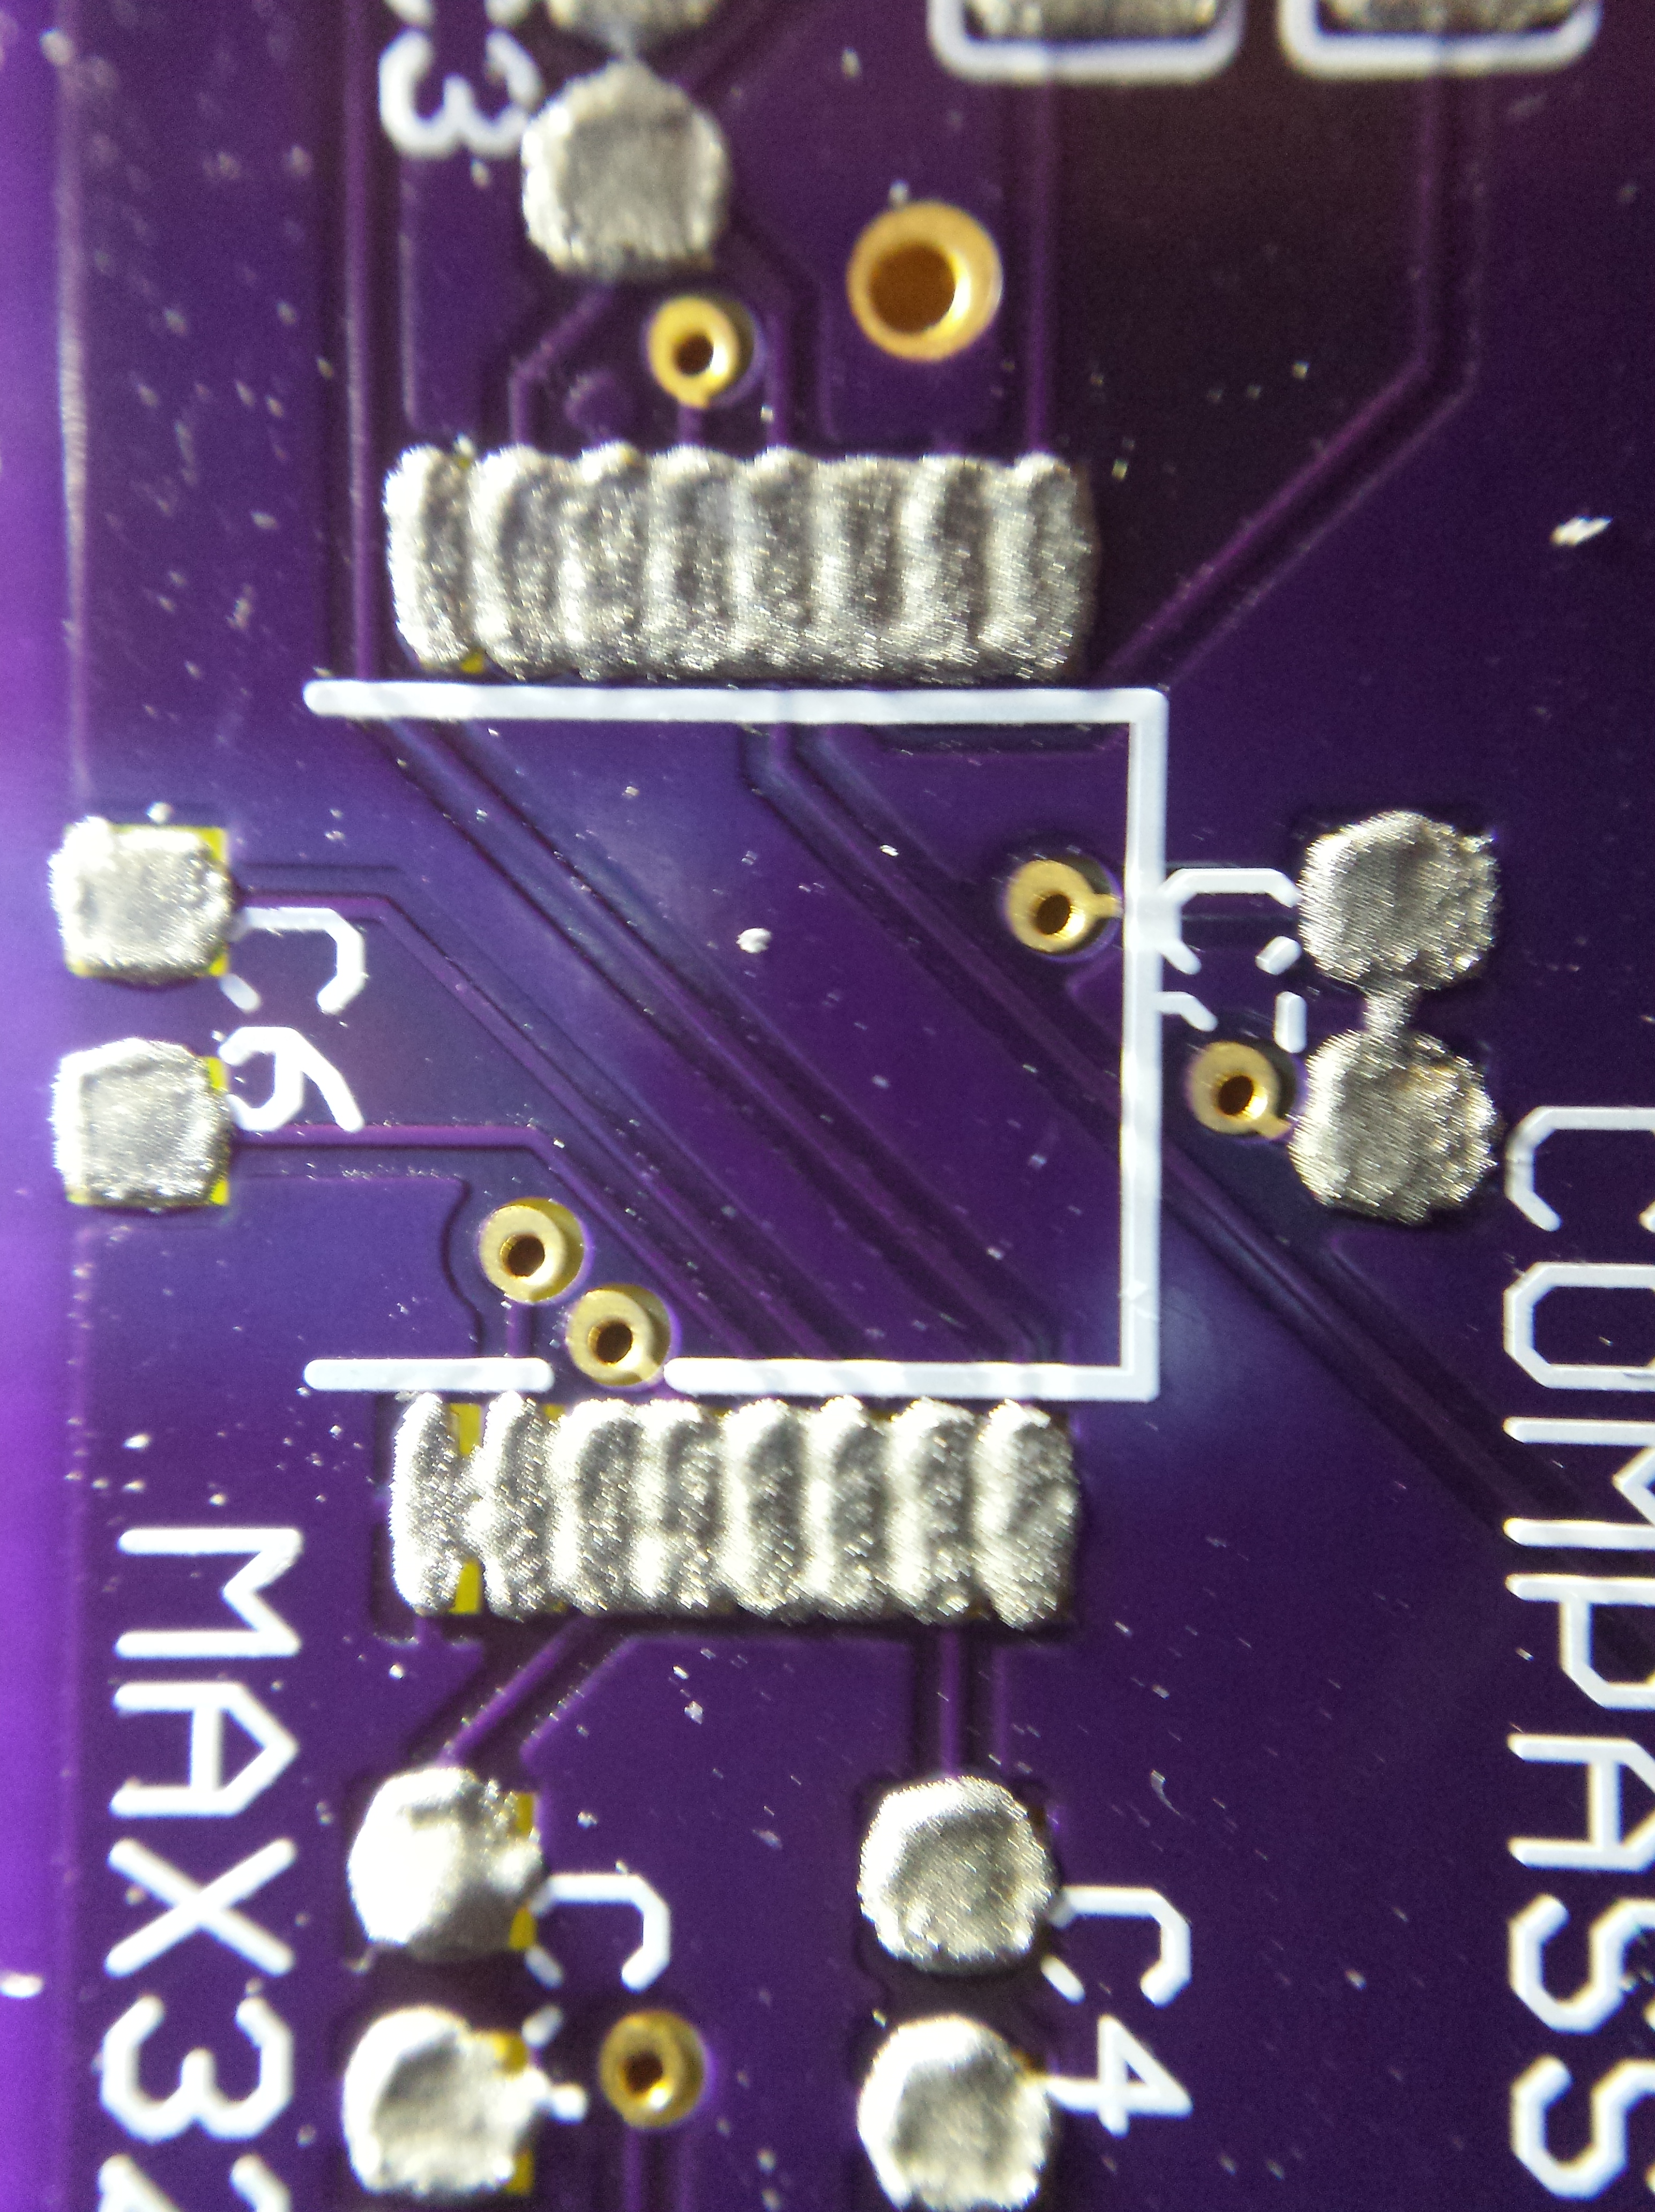
Solder paste applied on the pads

After components and soldering

After components and soldering
I’m very pleased with the results. There is almost no solder spilled on the PCB to clean off, you get consistently the right amount of solder paste on each pad and the result looks very professional and neat.
The process was easy and quick. I think I’ll be using stencils with all my future PCB builds. I just need a pick and place robot now … 🙂
